

Hey everyone, if you just unboxed a shiny new TFT LCD monitor and you're staring at the box thinking "okay… now what?", you're definitely not alone. Whether it's for your home office, gaming setup, or that extra screen for work, installing a TFT LCD monitor can feel a bit intimidating at first. One wrong cable or too much force on the panel and you're worried about dead pixels or a wobbly stand.
I've set up dozens of these over the years (from basic 24-inch office TFT LCD displays to bigger 32-inch gaming ones), and the good news is it's actually super straightforward once you know the right order. This complete guide walks you through how to install a TFT LCD monitor safely from start to finish - the exact steps that Dell, ASUS, HP, and ViewSonic all recommend. We'll cover desktop stand assembly, VESA wall mounting, cable connections, first-time setup, and all the common problems new users hit.
Give yourself 15–30 minutes, follow along, and you'll have a perfectly working TFT LCD display with crisp colors and zero stress. Let's get that screen up and running!
What You'll Need Before You Start Installing Your TFT LCD Monitor
You really don't need a ton of fancy tools. Here's the exact checklist that works for almost every consumer TFT LCD monitor on the market today:
- Cross-head screwdriver (the one that comes with the monitor is usually fine)
- Zip ties or Velcro straps for cable management
- Clean microfiber cloth (just in case the screen has fingerprints from the factory)
- The stuff that came in the box: monitor stand/base, screws, power cable, HDMI/DisplayPort cable (sometimes VGA too)
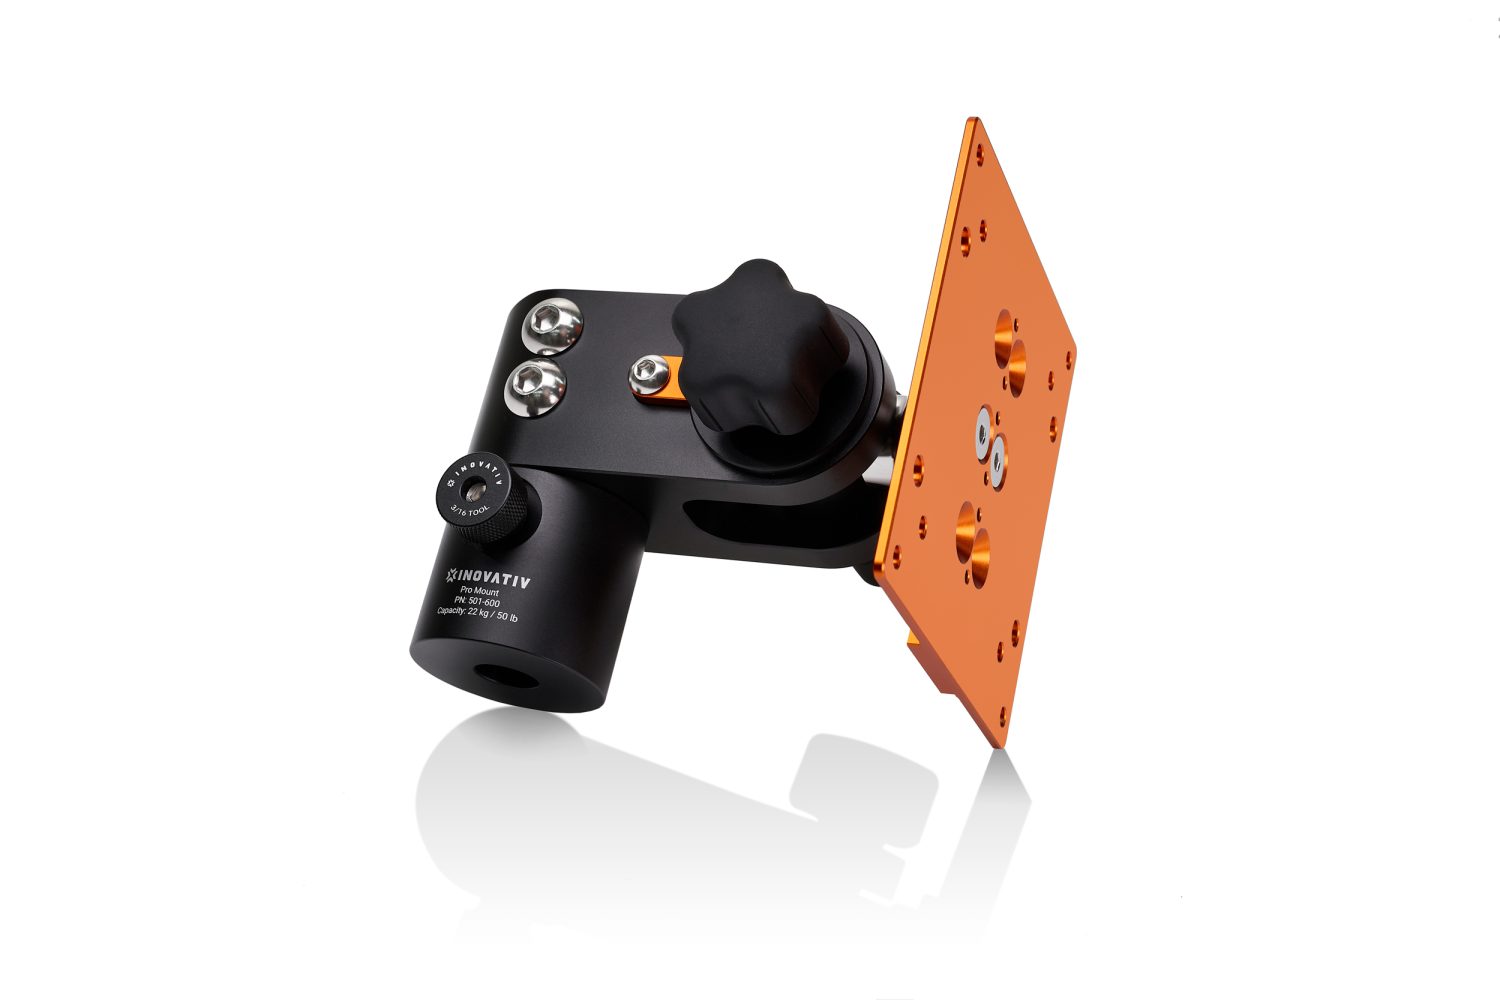
- Optional but highly recommended: VESA-compatible monitor arm if you want to mount it on the wall or desk clamp (check the back for 75×75 mm or 100×100 mm holes)
- Your computer ready with HDMI or DisplayPort output (USB-C works too with the right adapter)
Pro tip: Always lay everything out on a clean, flat surface first. I've seen too many people scratch their brand-new TFT LCD monitor by rushing the unboxing.
Safety First: Important Things You Must Know Before Touching Your TFT LCD Monitor
This part is short but super important - skip it and you risk damaging your expensive TFT LCD display.
- Power everything off and unplug both the monitor and your PC before you start.
- Never grab or press directly on the screen itself. The TFT panel is thin and fragile - always hold it by the edges or the metal frame.
- Check for VESA mounting holes on the back before you buy any wall mount. Almost all modern TFT LCD monitors have them, but double-check the manual.
- Work in a well-lit, dust-free area and touch a metal object first to discharge static electricity.
- If you're mounting on the wall, make sure the bracket can handle the weight (most 27-inch TFT LCD monitors are around 4–6 kg).
Trust me, these quick checks save a lot of headaches. I once watched a friend crack a panel because he tried to force the stand on while the monitor was still in the box.
Step-by-Step: How to Install Your TFT LCD Monitor
Step 1: Unbox and inspect
Take everything out carefully and check for any shipping damage. Count the screws and make sure the screen looks perfect under good light.
Step 2: Assemble the stand
Most TFT LCD monitors come with a simple pedestal stand. Line up the base with the back of the monitor, insert the screws, and tighten them in a cross pattern (don't crank them all the way at once - snug them evenly first). This prevents the panel from warping.
Step 3: Optional wall or arm mount (VESA method)
Remove the original stand (usually just a few screws). Attach your VESA plate or arm to the 75×75 or 100×100 holes using the included or matching screws. Hand-tighten only - over-tightening can crack the plastic back.
Step 4: Connect the cables
Plug in the power cord first.
Then connect the video cable: HDMI or DisplayPort is best for modern TFT LCD monitors (gives you higher resolution and refresh rates). Avoid VGA unless you have no other choice.
Route the cables neatly behind the monitor and secure them with zip ties so nothing pulls on the ports.
Step 5: Power on and check
Turn on the monitor first (you should see the logo or "no signal" message), then boot up your PC. If everything lights up, you're almost there!
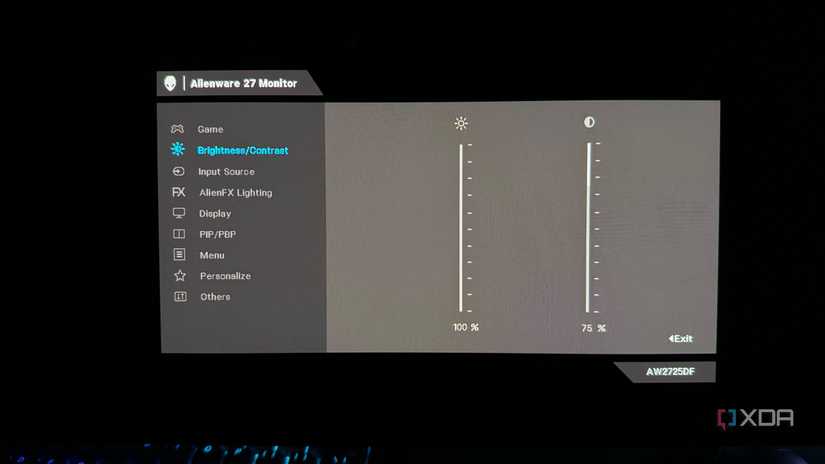
After Installation: Quick OSD Menu Setup on Your TFT LCD Monitor
Once the screen is on, hit the buttons on the bottom or side of your TFT LCD monitor to open the On-Screen Display (OSD) menu. Here's what I always adjust right away:

- Brightness: 60–70% for most rooms (too high causes eye strain)
- Contrast: Around 75–80%
- Color temperature: 6500K (standard daylight) for accurate colors
- Sharpness: Usually leave at default unless text looks fuzzy
- Input source: Make sure it's set to HDMI or DP (not auto if it's glitching)
Takes two minutes and makes a huge difference in how your TFT LCD display looks.
Computer Settings: Get the Best Resolution and Refresh Rate for Your TFT LCD Monitor
Now head to your PC settings:
On Windows: Right-click desktop → Display settings → Advanced display settings. Choose the native resolution of your TFT LCD monitor (usually 1920×1080 for 24-inch, 2560×1440 for 27-inch, or 3840×2160 for 4K). Set the refresh rate as high as it supports (60Hz, 75Hz, 144Hz, or even 165Hz on gaming models).
If you're on Mac, go to System Settings → Displays and pick "Default for display."
For gamers, enable FreeSync or G-Sync in the OSD if your graphics card supports it - it makes a night-and-day difference in smoothness.
Troubleshooting Common Issues When Installing a TFT LCD Monitor
Screen stays black or says "no signal"?
- Double-check the cable is fully clicked in on both ends.
- Try a different port or cable.
- Make sure the input source in the OSD matches what you plugged in.
Picture looks stretched or wrong colors?
- Go back to Windows Display settings and set the correct resolution.
- Reset the monitor to factory defaults in the OSD menu.
Stand wobbles or monitor tilts?
- Tighten the screws again (but not too hard).
- If using a VESA arm, check the tension knob.
Dead pixels or lines after setup?
- That's almost never caused by installation - it's usually a manufacturing defect. Take photos and contact the seller or manufacturer right away.
Curved TFT LCD monitors or ultra-wide models follow the exact same steps, just be extra careful with the wider base.
Final Thoughts: You've Successfully Installed Your TFT LCD Monitor!
That's it - you now know exactly how to install a TFT LCD monitor the safe and correct way. From unboxing to final settings, the whole process is simple when you take it one step at a time and treat the panel gently. Your new TFT LCD display should now look sharp, run smoothly, and give you years of reliable use.
Go ahead and fire up your favorite game, movie, or spreadsheet and enjoy that crystal-clear picture. If you run into any weird issues or want to show off your finished setup, drop a comment below with your monitor model - I'm happy to help troubleshoot!


Ready for a custom TFT LCD monitor built exactly for you? If you're looking for something beyond off-the-shelf options - whether it's a special size, higher brightness, touch capability, industrial-grade durability, or a perfectly matched resolution for your project - check out Minghua. We specialize in custom LCD business and create made-to-order TFT LCD monitors with premium panels, custom interfaces, and exactly the features you need. From small embedded displays to large professional TFT LCD displays, Minghua delivers reliable, high-quality solutions that fit your exact requirements. Visit us today and let's build your perfect custom TFT LCD monitor together!


